Playing Through Hate

Winning post-sideboard games is about playing around their hate. You rarely need a specific answer to every sideboard card—Games 2 and 3 come down to changing your sequencing, timing your stack triggers, and staying disciplined.

Meddling Mage
Meddling Mage by Christopher Moeller

Graveyard Hate

Keep in mind that multiple of these hate pieces use activated abilities, so you can force your opponent to activate a crypt or use Withered Wretch in response to Abeyance, then dump all to your graveyard and replenish it. Also, you can hardcast your enchantments; that way, you avoid the hate. The issue here is if they have two angles, like graveyard hate + hand disruption.

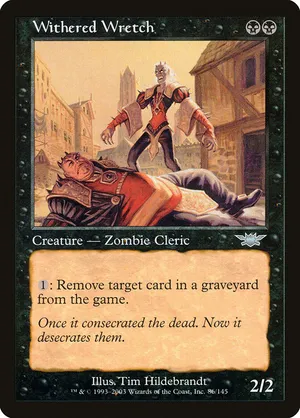
Withered Wretch: is dangerous because it exiles from your graveyard over and over, at instant speed, and it's stapled to an aggressive body that's also racing your life total. Against black midrange or aggro, save your Swords to Plowshares for Withered Wretch. Kill it before you start firing card-selection spells or putting enchantments in your graveyard.

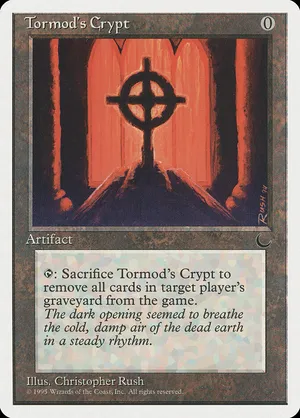
Tormod's Crypt: The simplest answer to an early Tormod's Crypt is just blowing it up with Seal of Cleansing or Disenchant before you go for the combo. If a Crypt is already in play, don't just dump your whole hand into the graveyard. Keep an Attunement on the table and hold your combo pieces in hand. Build a graveyard that's tempting but not essential—just enough to bait them—then cast Replenish. When they crack Crypt in response to empty your yard, Replenish is still on the stack. In response to your own Replenish, activate Attunement to pitch a fresh handful of combo enchantments into the now-empty graveyard. Replenish resolves immediately and restores everything you just discarded. If you don't have Attunement on the battlefield but do hold Intuition, cast Intuition in that same window instead (seven mana total)—see the Intuition page for pile-building details.

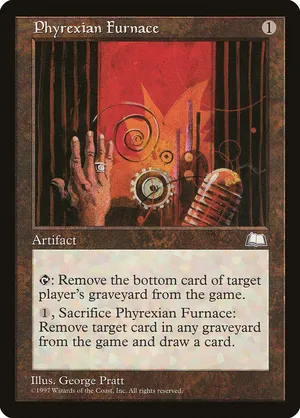
Phyrexian Furnace: Unlike Tormod's Crypt, Phyrexian Furnace only exiles one card at a time—either by sacrificing it or with its tap ability. Don't feed your combo enchantments into the graveyard slowly over several turns—that lets them pick off your lock pieces one at a time. Load up in a single turn with Frantic Search, Attunement, or Intuition right before you cast Replenish. They can only exile one card in response, so the rest of your pieces come back and end the game.

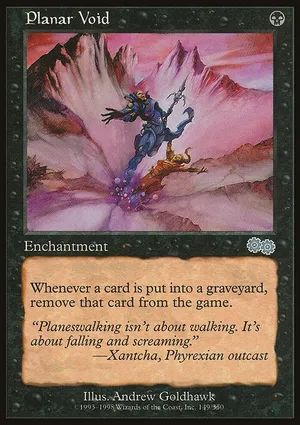
Planar Void: A one-mana enchantment that exiles every card the moment it would hit a graveyard, so nothing ever sticks around for you to use. Since Planar Void is an enchantment, your main deck Seal of Cleansing or an instant-speed Disenchant kills it cleanly before you go off.

Sweepers

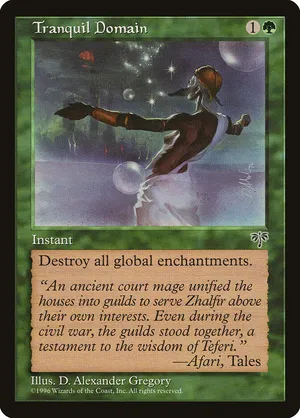
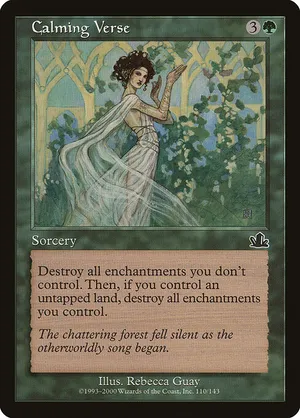
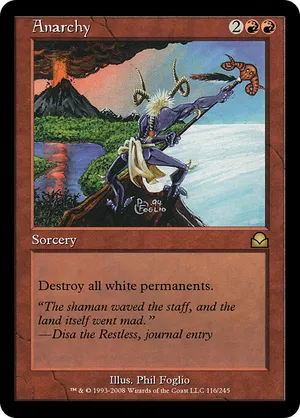
When opponents can't attack your graveyard, they'll often load up on mass enchantment removal to blow up your engines once they hit the table. Cards like Tranquil Domain, Calming Verse, or Anarchy can ruin your day, but you have two main ways to play through them.

Your primary defense is just locking them out with Decree of Silence. If you assemble the Opal-Wave-Decree lock, they literally have to cast three spells just to punch through the countermagic before they can even attempt to cast their sweeper. Once they burn their spells, you just reset the Decree.

If you don't have the Decree online but you do have an active Opal-Wave engine, you can use the Wave trick. Activate Parallax Wave in response to their sweeper to exile your own enchantments. When the sweeper resolves, Wave dies, and all your enchantments return safely to the battlefield. The catch is that you need two copies of Opalescence to hide one of them, which is why leaning on Decree is usually much safer.

Spot Removal & Surgical Hate

These spells don't wipe your board, but they surgically extract your most important pieces or pick them apart one by one.

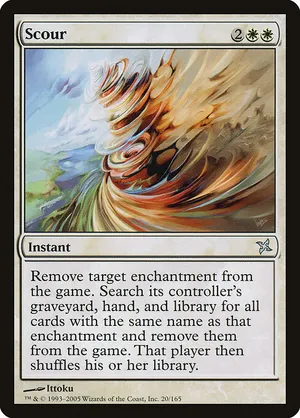
Scour: removes an enchantment and then exiles every copy of it from your hand, library, and graveyard. One Scour on your win condition can end the game. Don't drop a naked Opalescence into an open four-mana white post-board unless you have a counter or plan. The Opal-Wave trick is especially important here: if you exile your own enchantment in response, Scour fizzles completely. Otherwise, the best approach is often to completely de-lock the game and pivot your win condition entirely.

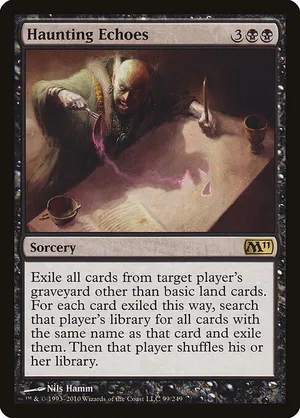
Haunting Echoes: The scariest hate card out of black decks (BW control, the rock, Psychatog). A resolved five-mana Haunting Echoes wipes your whole graveyard and then pulls every copy of those cards out of your library too, which basically shuts the combo off and your game plan. Since it costs five and it's a sorcery, they have to tap way down on their own turn to cast it. Hold your cheap counters (Mana Leak, Counterspell, Arcane Denial) for when they hit five mana, or name it with Meddling Mage in Games 2 and 3. Don't let your graveyard pile up against five-mana unless you can cast Replenish off it on your next turn.

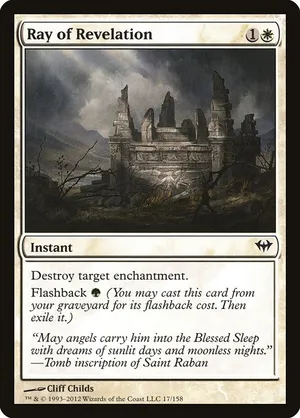
Ray of Revelation / Naturalize: Green-white decks use Ray of Revelation for a 2-for-1 thanks to Flashback. Naturalize is a weaker 1-for-1 response, but always expect it against green. You don't have much to do here; if they don't have graveyard hate, with the removal you can just Replenish and recover the card advantage later. Usually the problem is Ray of Revelation with graveyard hate, or with counters; therefore, your Replenish does not resolve.

Taxation

These permanents sit on the board and try to choke your mana or stop your engine loops from working by making them too expensive to execute.

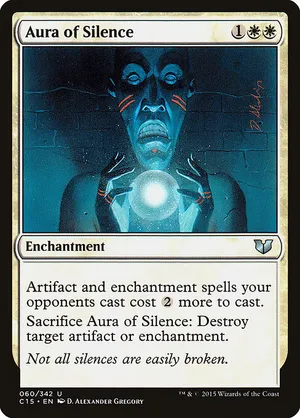
Aura of Silence: It taxes your enchantments by three mana, which makes hardcasting painfully slow. On top of that, it can sacrifice itself to destroy whatever key enchantment you finally do resolve. This is exactly why the sideboard splits between Seal of Cleansing and Disenchant—Disenchant is a clean two-mana instant that Aura's tax doesn't touch.

Gloom: It taxes every white spell and white activated ability by three mana, which can badly slow down Replenish, Swords to Plowshares, Opalescence, and Parallax Wave. The good news is Gloom only touches white. Your whole blue card-selection package (Attunement, Frantic Search, Intuition) and your counters (Mana Leak) work just fine. The bad news is that it also affects the activated abilities of white enchantments. Against heavily black decks, save your early counters for Gloom itself. If it does resolve, use your Ancient Tomb ramp to pay through the three-mana tax over a long game; Disenchant and Alter Reality are good solutions too. The issue with the Seal of Cleansing here is that it takes too much time to destroy a Gloom, usually 5 mana to cast, and 3 to activate; Disenchant reduces that to only 5.

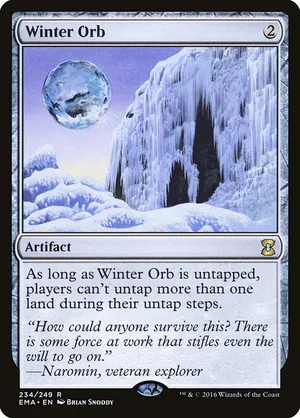
Winter Orb: Replenish is built around three- and four-mana spells, so only untapping one land a turn really slows down your setup. Get rid of it right away with Seal of Cleansing or Disenchant. If it sticks, Ancient Tomb is great because you get two mana off the one land you untap.

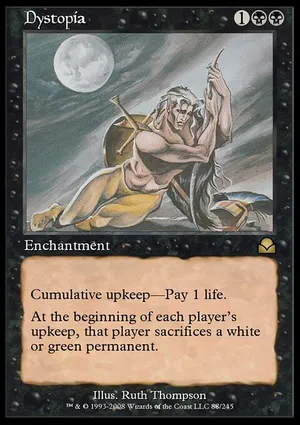
Dystopia: Every one of your upkeeps, you have to sacrifice a green or white permanent. Left alone, it chews through your Opalescence, Parallax Wave. The key points: Dystopia costs the opponent more and more life each upkeep, and it only hits green and white—so your Attunement is completely safe. Just build your combo up in the graveyard without laying out white permanents early, and when you're ready, cast Replenish onto a full board. At that point, sacrificing one spare white permanent to the upkeep trigger doesn't matter, and you swing for the win. Keep in mind that if you assemble the Opal Wave combo, Dystopia is a creature, and you can remove it with the wave.

Lockouts

These cards completely shut off key rules of your deck. From blanking abilities to countering specific cards, you have to answer them or play completely around them.

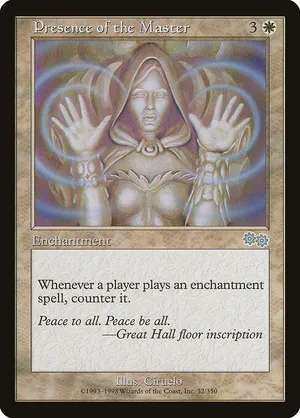
Presence of the Master: It looks terrifying against an enchantment deck, but it only counters enchantment spells you cast from hand. It does nothing to enchantments coming in off Replenish! Still, once it's in play, you can't hardcast combo pieces or answers like Seal of Cleansing. Play around it by building your graveyard and winning straight off a single Replenish, or lean on instant-speed removal like Disenchant and non-enchantment threats like Meddling Mage and Exalted Angel.

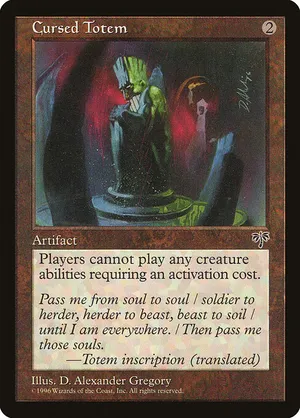
Cursed Totem: A sneaky, easy-to-miss sideboard artifact. On its own, it doesn't touch your normal enchantments at all. But the moment Opalescence enters the battlefield, all of your non-Aura enchantments transform into creatures. With both Opalescence and Cursed Totem out, Parallax Wave, Attunement, and Seal of Cleansing are all creatures with activated abilities—so Cursed Totem shuts their activations off completely! To avoid this trap, always use Seal of Cleansing or an instant-speed Disenchant to kill Cursed Totem before Opalescence hits the table.

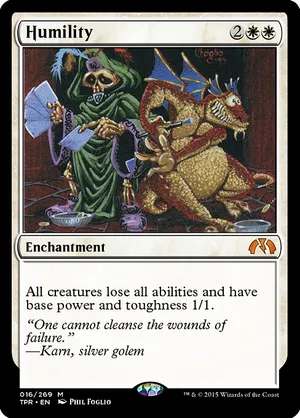
Humility: You'll occasionally see this of UW Control. It removes all creature abilities and sets every creature to 1/1. Since your kill relies on Opalescence turning your non-Aura enchantments into attackers, a Humility that resolves after your setup creates messy layer interactions and shuts off your creature-based activations. When Humility is in play, don't try to win with Opalescence creatures or count on creature abilities. Treat it as a must-kill target: clear it with an instant-speed Disenchant or an existing Seal of Cleansing.

Deep Dive: Humility vs Opalescence Layers

This is the current interaction between Humility and Opalescence: The type-changing effect applies at layer 4, but the rest happens in the applicable layers. The rest of it will apply even if the permanent loses its ability before it's finished applying. So if Opalescence, Humility, and Worship are on the battlefield and Opalescence entered before Humility, the following is true: Layer 4: Humility and Worship each become creatures that are still enchantments. (Opalescence). Layer 6: Humility and Worship each lose their abilities. (Humility) Layer 7b: Humility becomes 4/4 and Worship becomes 4/4. (Opalescence). Humility becomes 1/1 and Worship becomes 1/1 (Humility).

But if Humility entered before Opalescence, the following is true: Layer 4: Humility and Worship each become creatures that are still enchantments (Opalescence). Layer 6: Humility and Worship each lose their abilities (Humility). Layer 7b: Humility becomes 1/1 and Worship becomes 1/1 (Humility). Humility becomes 4/4 and Worship becomes 4/4 (Opalescence).

Proactive Creature Interference

Meddling Mage

Meddling Mage

Opponents fielding blue-white builds (UW Landstill, mirrors) frequently introduce Meddling Mage post-board to lock down your namesake Replenish or foundational combo engines like Parallax Wave.

Maintain vigilant situational awareness regarding which opponent archetypes have access to white and blue mana after Game 1. When anticipating opposing Mages, deliberately retain a spot-removal suite (either by leaving in 1–2 copies of Swords to Plowshares or by relying on Parallax Wave).